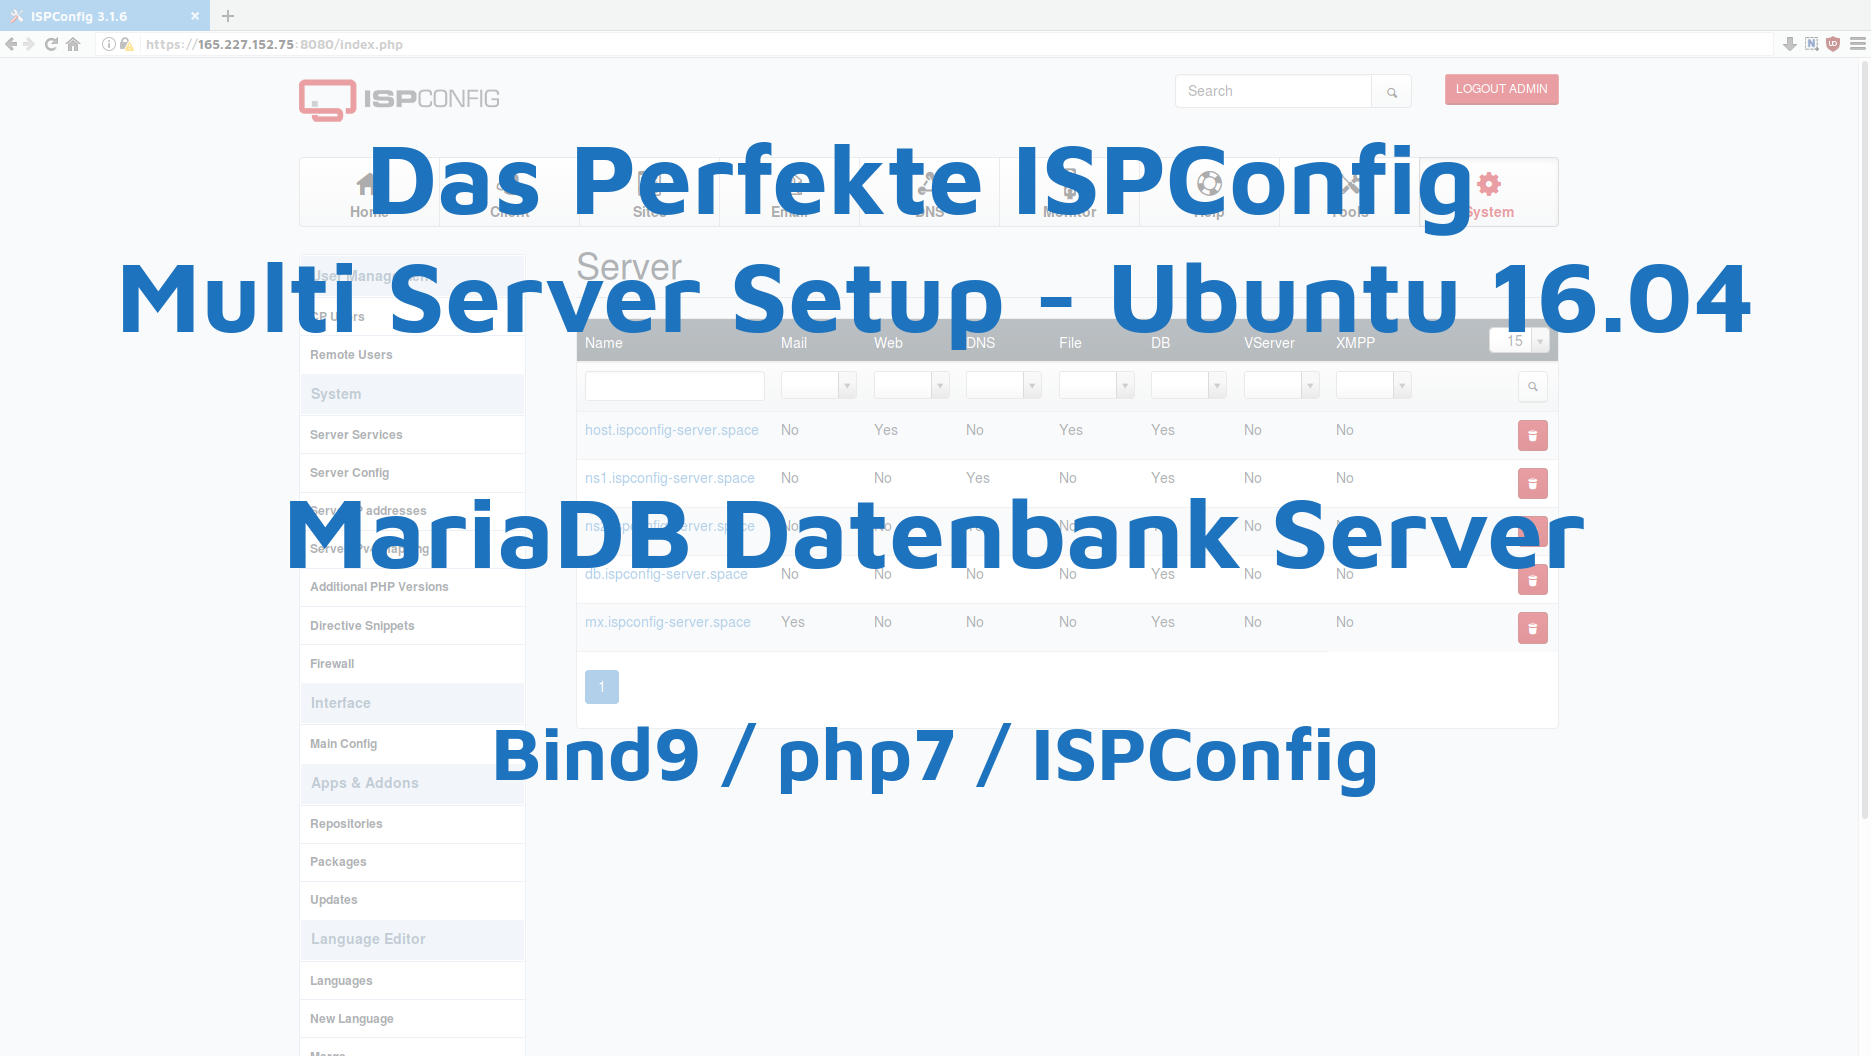
Teil 5 der ISPConfig Multi-Server Anleitung auf Ubuntu 16.04 mit Dediziertem Web-, Mail-, NS1-, NS2-, Datenbank-Server
- Einleitung & Vorbereitung der ISPConfig Multi Server
- ISPConfig Web Server installieren
- ISPConfig NS1 DNS Server installieren
- ISPConfig NS2 DNS Server installieren
- ISPConfig MariaDB Datenbank Server installieren
- ISPConfig Mail Server installieren
Auf dieser Seite beschreibe ich die Installation des Datenbank Servers. Folgende Inhalte werden hier beschrieben:
Datenbank Server Installieren
Den Datenbank Server hatte ich ganz am Anfang schon mit MariaDB ausgerüstet. Also müssen hier nur noch die php Pakete für ISPConfig installiert werden.
apt-get install php7.0-cli php7.0-mysql php7.0-mcrypt mcrypt php7.0-mbstring
Auch hier, muss ISPConfig erst herunter geladen und entpackt werden.
cd /tmp
wget http://www.ispconfig.org/downloads/ISPConfig-3-stable.tar.gz
tar xfz ISPConfig-3-stable.tar.gz
cd ispconfig3_install/install/
Und dann starte ich die Installation mit:
php -q install.php
Hier einmal wie es bei mir ausgesehen hatte und welche Angaben ich gemacht hatte:
root@db:/tmp/ispconfig3_install/install# php -q install.php


--------------------------------------------------------------------------------
 _____ ___________   _____              __ _         ____
|_   _/  ___| ___ \ /  __ \            / _(_)       /__  \
  | | \ `--.| |_/ / | /  \/ ___  _ __ | |_ _  __ _    _/ /
  | |  `--. \  __/  | |    / _ \| '_ \|  _| |/ _` |  |_ |
 _| |_/\__/ / |     | \__/\ (_) | | | | | | | (_| | ___\ \
 \___/\____/\_|      \____/\___/|_| |_|_| |_|\__, | \____/
                                              __/ |
                                             |___/
--------------------------------------------------------------------------------


>> Initial configuration

Operating System: Ubuntu 16.04.3 LTS (Xenial Xerus)

    Following will be a few questions for primary configuration so be careful.
    Default values are in [brackets] and can be accepted with <ENTER>.
    Tap in "quit" (without the quotes) to stop the installer.


Select language (en,de) [en]:<== Enter
Installation mode (standard,expert) [standard]: <== expert
Full qualified hostname (FQDN) of the server, eg server1.domain.tld  [db.ispconfig-server.space]:<== Enter
MySQL server hostname [localhost]:<== Enter
MySQL server port [3306]:<== Enter
MySQL root username [root]:<== Enter
MySQL root password []: <== 90XbookXFORESTXpaidX86
MySQL database to create [dbispconfig]:<== Enter
MySQL charset [utf8]:<== Enter
The next two questions are about the internal ISPConfig database user and password.
It is recommended to accept the defaults which are 'ispconfig' as username and a random password.
If you use a different password, use only numbers and chars for the password.
ISPConfig mysql database username [ispconfig]:<== Enter
ISPConfig mysql database password [754e68f43232e04805e3842db1996990]:<== Enter
Shall this server join an existing ISPConfig multiserver setup (y,n) [n]: <== y
MySQL master server hostname []: <== host.ispconfig-server.space
MySQL master server port []: <== 3306
MySQL master server root username [root]:<== Enter
MySQL master server root password []: <== 90XbookXFORESTXpaidX86
MySQL master server database name [dbispconfig]:<== Enter
[WARN] autodetect for Apache failed
Force configure Apache (y,n) [n]:<== Enter
Skipping Apache
[WARN] autodetect for nginx failed
Force configure nginx (y,n) [n]:<== Enter
Skipping nginx
Adding ISPConfig server record to database.
Configure Mail (y,n) [y]: <== n
[WARN] autodetect for Jailkit failed
Force configure Jailkit (y,n) [n]: <== Enter
Skipping Jailkit
[WARN] autodetect for pureftpd failed
Force configure pureftpd (y,n) [n]: <== Enter
Skipping pureftpd
Configure DNS Server (y,n) [y]: <== n
The Web Server option has to be enabled when you want run a web server or when this node shall host the ISPConfig interface.
Configure Web Server (y,n) [y]: <== n
[WARN] autodetect for OpenVZ failed
Force configure OpenVZ (y,n) [n]: <== Enter
Skipping OpenVZ
Configure Firewall Server (y,n) [y]: <== Enter
Configuring Ubuntu Firewall
[WARN] autodetect for Metronome XMPP Server failed
Force configure Metronome XMPP Server (y,n) [n]: <== Enter
Skipping Metronome XMPP Server
Configuring Fail2ban
Install ISPConfig Web Interface (y,n) [n]: <== Enter
_
Configuring DBServer
Installing ISPConfig crontab
Installing ISPConfig crontab
no crontab for root
Detect IP addresses
Restarting services …
Installation completed.
Und damit ist der Datenbank Server ebenfalls Einsatzbereit. Weiter geht es mit ISPConfig Mail Server installieren
